Knowing how to wire a light switch is a useful skill, but it has to be done to UK standards (BS 7671, the 18th Edition Wiring Regulations). This guide uses the correct UK colours and terminals, covers one-way, two-way and intermediate switches, and is clear about the safety and legal side.
UK wiring colours (and the old ones)
The UK changed to harmonised cable colours in 2006. You may still meet the old colours in older homes, so know both:
| Conductor | Current colour (2006+) | Old colour (pre-2006) |
|---|---|---|
| Live / line | Brown | Red |
| Neutral | Blue | Black |
| Earth | Green & yellow | Green & yellow |
Important: at most light switches there is no neutral. A standard switch drop uses the two cores of a twin-and-earth cable: the brown is the permanent live, and the blue is used as the switched live (the return to the light). That blue conductor must be sleeved or marked brown to show it is live, not neutral. This is the single most common point of confusion, so check before you touch anything.
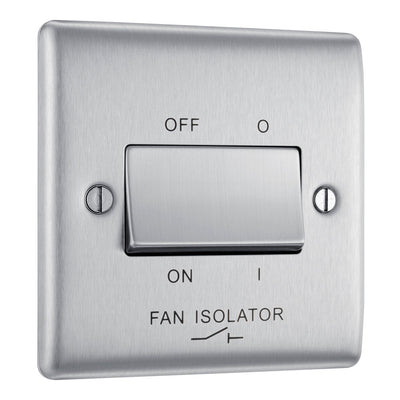
Switch terminals: COM, L1 and L2
A UK switch is labelled by function, not by screw colour:
| Switch type | Terminals used |
|---|---|
| One-way (control from one place) | COM and L1 |
| Two-way (two switches, one light) | COM, L1 and L2 |
| Intermediate (three or more places) | Four terminals, wired between two two-way switches |
One-way, two-way or intermediate?
A one-way switch controls a light from a single position. A two-way switch lets two switches control the same light, such as the top and bottom of the stairs. For three or more positions you add an intermediate switch between the two-way switches. Most UK plate switches are sold as two-way, which can be used one-way by wiring only COM and L1.
Tools you will need
A flat and a cross-head screwdriver, a wire stripper, a voltage tester or socket/continuity tester, brown sleeving for the switched live, and a spirit level for a neat finish. An approved voltage indicator and proving unit is the safe way to confirm the circuit is dead.
How to wire a one-way light switch (step by step)
1. Isolate the circuit at the consumer unit, lock it off if you can, and prove the cable is dead with a voltage tester.
2. Remove the old switch and note which core sits in COM and which in L1.
3. Prepare the cores: strip about 10mm of insulation, keep bare copper inside the terminal, and sleeve the blue switched live with brown.
4. Connect: permanent live (brown) into COM, switched live (blue sleeved brown) into L1, and the earth (green-and-yellow) to the earth terminal on the back box and/or the switch.
5. Tighten each terminal onto copper, not onto the outer sheath, and tug-test each core.
6. Refit the switch without trapping the cores, level it, restore power and test.
Wiring a two-way switch
For two-way, the two switches are linked by a three-core-and-earth cable. The light feed goes to COM on one switch, COM on the other goes to the light, and the two "strapper" cores connect L1 to L1 and L2 to L2 between the switches. If you are converting one-way to two-way, this is the point most people get wrong, so work methodically and label as you go.
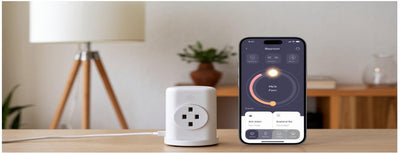
Dimmer and smart switches
A dimmer switch wires like a standard switch but must match your lamps; use a trailing-edge LED dimmer for LED fittings and check the minimum and maximum load. Many smart switches need a permanent neutral at the switch to power their electronics, which older switch drops do not have, so confirm a neutral is present before you buy.
Is it legal to wire a light switch yourself?
Replacing a like-for-like switch on an existing circuit is generally permitted. New circuits and most other fixed electrical work are notifiable under Part P in England and Wales and must be done by a registered competent person or signed off by building control. If you are at all unsure, use a qualified electrician; this guide is general information, not a substitute for professional advice.
Common mistakes to avoid
Not isolating and proving dead first; treating the blue switch-drop core as neutral; trapping the outer sheath in a terminal; over-tightening and crushing the copper; and using a non-neutral switch box for a smart switch that needs one.
FAQs
What colour is live on a UK light switch? Brown is live on current cable. At a switch the blue core is used as the switched live and should be sleeved brown; older installations use red for live and black for neutral.
What are COM, L1 and L2? COM is the common (the feed), L1 and L2 are the outputs. One-way uses COM and L1; two-way adds L2.
Can I put a one-way switch where a two-way was? Yes, a two-way switch wired on COM and L1 works as one-way, which is why most UK switches are two-way.
Do smart light switches need a neutral? Most do. Many switch positions have no neutral, so check before buying or choose a no-neutral model.
Is it notifiable work? New circuits and most fixed wiring are notifiable under Part P; a like-for-like switch swap usually is not. Use a qualified electrician if unsure.
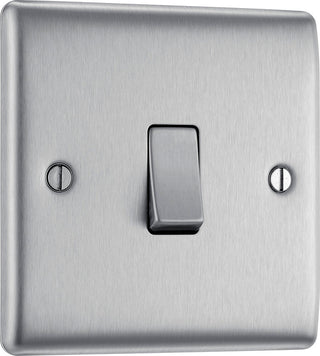
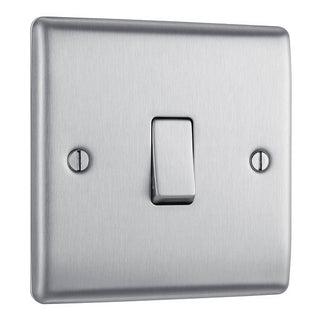
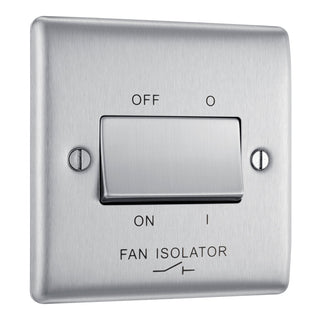
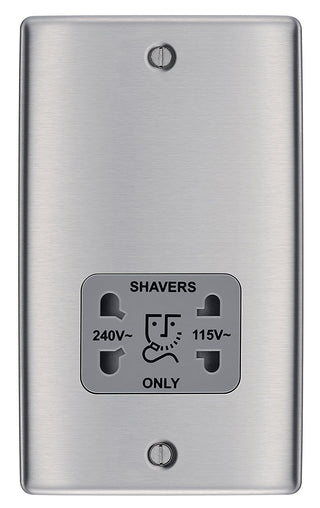
Kent Traders supply light switches, sockets, lighting and electrical accessories from all the leading UK brands, with trade pricing.
Shop the range at Kent Traders
Fitting or replacing a switch? Browse the UK range:
- Light switches (all ranges)
- Dimmer switches (LED compatible)
- Intermediate switches for multi-way
- BG Nexus & Evolve ranges