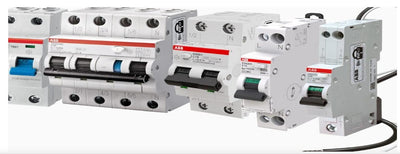
In any electrical system, a circuit breaker plays a crucial role in protecting circuits from overloads and short circuits. Over time, these breakers may need replacement due to wear and tear or malfunction.
Understanding Circuit Breakers: Circuit breakers are devices designed to autonomously interrupt electrical flow in a circuit in the event of an overload or short circuit. They consist of a switch mechanism and a tripping mechanism housed within a protective casing. Circuit breakers are installed in breaker panels, which serve as central distribution points for electrical circuits in buildings. The precise, step-by-step instructions on changing a circuit breaker securely and successfully are provided in this article.
Step 1: It's imperative to follow certain safety steps when replacing a circuit breaker to protect the integrity of the electrical system and your safety. The security precautions that follow should reflect:
Avoidative Actions:
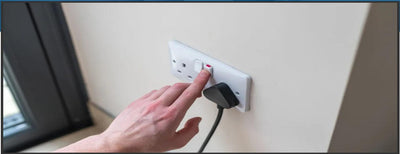
- Turn Off Power: Ensure that you eliminate the primary electrical source from the breaker panel before attempting to change a circuit breaker. This prevents the risk of electric shock or injury.
- Use Personal Protective Equipment (PPE): Wear insulated gloves, safety goggles, and appropriate clothing to protect yourself from electrical hazards.
- Assessment of the Breaker Panel: Before getting started, evaluate the breaker panel for any signs of impairment or corrosion. Ascertain that it is effectively grounded and securely mounted.
- Test for Voltage: Use a non-contact voltage tester to verify that there is no voltage present in the circuit you are working on. This implies your safety before proceeding.
- Work in a Dry Environment: Avoid labouring on electrical systems in wet or damp conditions to avoid electrocution hazards.
- Follow Proper Wiring Practices: When unplugging and reassembling wires to the circuit breaker, ensure they are precisely sized, stripped, and securely tightened to eradicate loose connections.
- Avoid Overloading Circuits: Make sure the new circuit breaker is sufficiently sized for the electrical load it will be withstanding to forestall overindulgence and potential fires.
- Adhering to the manufacturer's instructions: Refer to the manufacturer's regulations and specifications for the circuit breaker being mounted to ensure optimum configuration and operation.
Step 2: Determine the Faulty Circuit Breaker Inspect the breaker panel to stumble upon the faulty circuit breaker. Look for breakers that are tripped or exhibit indicators of damage, such as combustion or discoloration.
Step 3: Setup the workspace Clear the area around the breaker panel and ensure there is enough space to work comfortably. Keep flammable materials distinct from the vicinity of work.
Step 4: Unscrew the Cover of the Breaker Panel Use a screwdriver to disable the screws holding the cover of the breaker panel in place. Using caution, lift off the cover and set it aside.
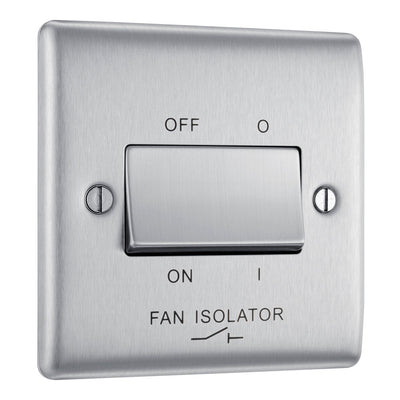
Step 5: Track down the Circuit Breaker to be swapped. Identify the circuit breaker that ought to be substituted. It should be firmly seated in the breaker panel and attached to the circuit wires.
Step 6: Switch off the circuit breaker. Before proceeding, make sure the circuit breaker is switched off. Ascertain that there is no electricity coursing through the circuit by using a non-contact voltage tester.
Step 7: Disconnect the wires from the circuit breaker. Using a screwdriver, unfasten the terminal screws affixing the circuit wires to the breaker. Gently eliminate the wires from the terminals. Take note of the wire connections to ensure proper reinstallation.
Step 8: Disassemble the old circuit breaker. With the wires disengaged, gently pull the old circuit breaker out of its slot in the breaker panel. Some breakers may have clips or retaining mechanisms that need to be released before removal.
Step 9: Screw the new circuit breaker into the depleted compartment in the breaker panel. Make sure it is securely seated and aligned with the other breakers.
Step 10: Reconnect the wires. Meticulously reconnect the circuit wires to the terminals of the new circuit breaker. Securely tighten the terminal screws to fabricate compatible electrical connections.
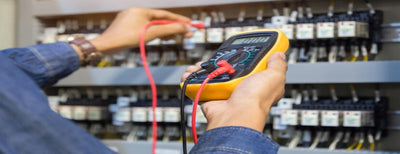
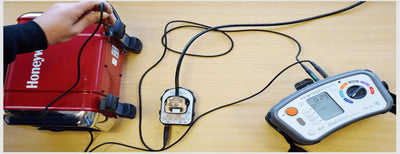
Step 11: Assess the circuit. Once the new circuit breaker is installed and wired correctly, it's essential to test the circuit before rebooting the power. Activate the breaker and use a multimeter to verify voltage findings at the circuit's endpoints.
Step 12: Upgrade the Breaker Panel Cover After validating that the new circuit breaker is functioning correctly, replace the cover of the breaker panel. Secure it in place using the screws extracted earlier.
Step 13: Restore Power: Activate the principal electrical supply to the breaker panel to restore electricity to the circuits. Test the circuits connected to the new breaker to ensure they are functioning properly.
Additionally, being cognizant of conceivable fixing areas can help address any issues that may arise during the process. Here are some troubleshooting areas to keep in mind.
Troubleshooting Areas:
- Tripped Circuit Breaker: If the new circuit breaker trips immediately after installation, it may indicate an overload or short circuit in the circuit. Check for faulty appliances, damaged wiring, or overloaded components.
- An Incorrect Connection: If the circuit breaker continues to trip or fails to provide power to the circuit, inspect the connections between the breaker and the circuit wires. Ensure they are tight and secure.
- Compatibility Issues: Double-check that the new circuit breaker is integrated with the electrical panel and the prevailing wiring. Applying an inappropriate breaker can lead to operational glitches and safety hazards.
- Defective Breaker: There are instances when the new circuit breaker itself may be flawed. When you wire a circuit breaker, test the breaker with a multimeter to validate that it is functioning as intended. If it's essential, substitute it with a new one.
- Ground Faults: If the circuit breaker recurrently trips without an apparent cause, it may indicate a ground fault in the circuit. Probe the wiring for damage or improper grounding, and rectify any issues.
- Seek the advice of an expert. If you encounter persistent breakdowns or are stumped about any aspect of the circuit breaker switching process, it's best to consult a qualified electrician for assistance from Kent Traders. They can render competent counsel and safeguard the safety and functionality of your electrical system.
By implementing these security protocols and being cognizant of possible error areas, you can effectively modify a circuit breaker, address any issues that may arise during the process, and always get support from Kent Traders specialists, who focus on quality, reliability, and customer satisfaction and excel at meeting various preferred choices for electrical supply needs efficiently. Remember to prioritize safety and consult a specialist if you encounter any difficulties or unpredictability.
Resetting a circuit breaker necessitates meticulous preparation, attention to detail, and adherence to safety protocols. By following the step-by-step guide outlined above, you can safely wire a circuit breaker to replace a faulty circuit breaker and ensure the continued reliability of your electrical system. Needless to say, consistently stick with security and check out a licensed electrician if you detect any barriers or unpredictability.
How to extend socket wires?
- With enough length to work with, carefully cut the existing wire.
- Strip off about 1/2 inch (1.27 cm) of insulation from the ends of both the existing wire and the new wire you're adding.
- If utilizing a junction box, securely twist the wires together or use wire nuts to connect them.
- Electrical tape or heat-shrink tubing can be used to insulate the connector.
- To make sure it's safe and working correctly, test the connection.
How to connect wire to socket and switch?
- Prior to working on electrical connections, make sure the circuit breaker is turned off.
- Strip about 1/2 inch (1.27 cm) of insulation from the ends of the wires.
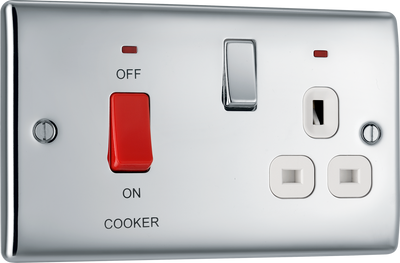
- In order to use the socket, attach the neutral (white) wire to the silver screw terminal and the live (black or red) wire to the brass screw terminal. Tighten the screws securely.
- When connecting a wire to a fixture (if it's a three-way switch, connect it to either of the traveler screw terminals; if not, connect it to the single screw terminal), For the switch, connect the live wire to the common screw terminal. Tighten the screws securely.
- Wrap the exposed wires in heat-shrink tubing or electrical tape for insulation.
- Install the socket and switch into their respective electrical boxes, ensuring all connections are properly secured.