Overview Electrical outlet and light switches are commonplace components in houses and businesses nowadays, making daily tasks easier. Any homeowner or electrician must know how to connect these parts in a safe and efficient manner. The safety and dependability of electrical systems are guaranteed in the United Kingdom by strict adherence to laws and standards. By following these security protocols, being aware of potential error areas, and concentrating on quality, reliability, and customer satisfaction, you can successfully connect the light switch to the electrical outlet, take care of any issues that may arise during the process, and always get support from Kent Traders specialists. These experts are adept at effectively satisfying a range of desired options for electrical supply requirements. This tutorial will go over how to connect light switches to outlets, including what has to be done safely and in accordance with UK laws.
Understanding electrical outlet and light switches Before diving into the connection process, it's crucial to grasp the fundamentals of electrical outlet and light switches.
Electrical Outlet:
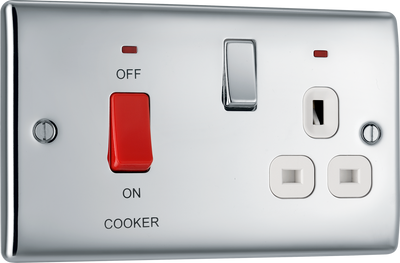
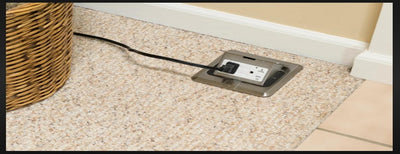
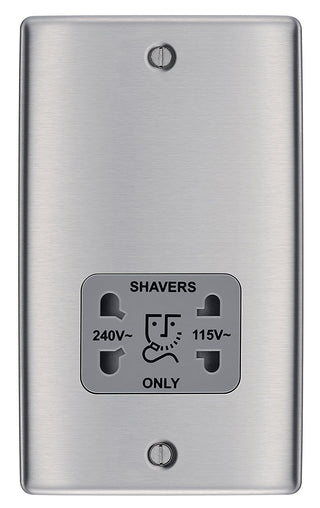
Referred to as power points or sockets in the United Kingdom, electrical outlet serves as a means of connecting electrical products to the mains supply for electricity. In the UK, the shaver socket and the typical three-pin socket are common outlet types. Throughout a facility, outlets are usually positioned in handy spots to accommodate a range of electrical equipment.
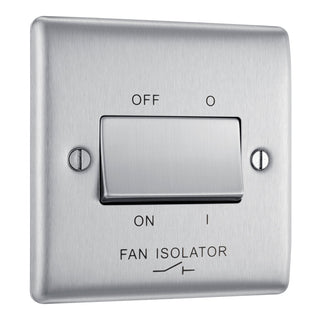
Electrical Light Switches:
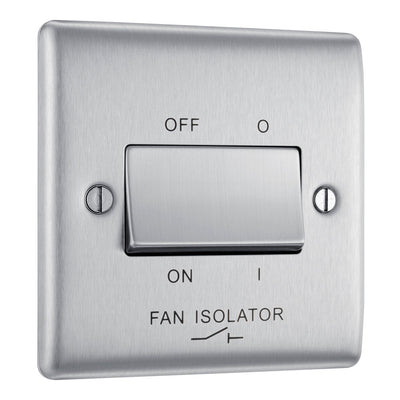
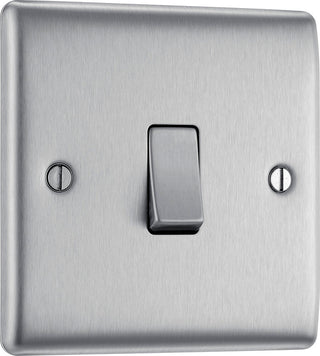
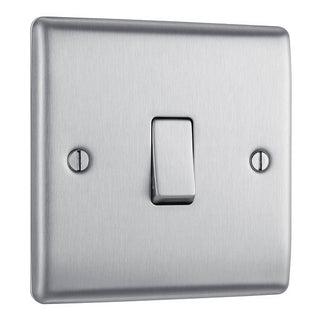
Light switches control the flow of electricity to lighting fixtures. They come in different types, including traditional toggle switches, dimmer switches, and smart switches. Light switches are installed strategically within a building to provide convenient access to lighting control.
Fundamental Elements and Phonology: Before moving on, acquaint yourself with the following words and crucial components:
Live (L): Electrical current travels through the live wire from the source, such as the consumer unit, to the outlet or light fixture.
Neutral (N): Usually finishing a loop, the neutral wire completes the circuit by returning current to the source.
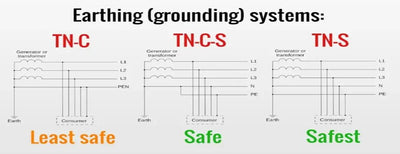
Earth (E): In the event of a fault, the earth wire offers a safe route for electrical current to disperse, lowering the possibility of electric shock.
Live Switched (SL): The switched live, often referred to as the switched line or load wire, is the wire that transfers current from the switch to the light fixture, therefore controlling its functioning.
Regulatory Framework in the UK
Electrical installations in the UK are subject to stringent regulations to ensure safety and compliance. The key regulatory framework governing electrical work includes:
- Building Regulations: Part P of the Building Regulations in England and Wales covers electrical safety in dwellings. It mandates that certain electrical works must be carried out by a competent and registered electrician or notified to the local authority.
- Wiring Regulations: The IET Wiring Regulations (BS 7671) provide detailed guidance on the design, installation, and testing of electrical installations. Compliance with these regulations is essential for ensuring electrical safety.
- Electrical Safety Standards: Various British Standards (BS) outline specific requirements for electrical components, equipment, and installations, ensuring their safety and performance.
Electrical Outlet Connection for Light Switches: A Comprehensive Guide
Now, let us demonstrate how light switches are connected to outlets in the United Kingdom:
Step 1: Shut off the electricity. It is essential to cut off the power supply at the consumer unit (fuse box) before beginning any electrical work. To turn off the electricity, find the matching circuit breaker or fuse for the circuit you'll be working on and flip it.
Step 2: Set Up Your Workspace. Make sure there are no obstacles and that the work space is well-lit. Put on the proper personal protection equipment (PPE) to shield oneself from potential dangers, such as safety goggles and insulated gloves.
Step 3: Identify the wiring configuration. Identify the wiring configuration at the existing light switch and electrical outlet. Typically, you'll find three core cables (live, neutral, and earth) at both the switch and the outlet. Additionally, the light switch will have a switched live wire (SL) connecting it to the lighting fixture.
Step 4: Install the electrical light switch. If you're installing a new light switch, follow these steps:
- Choose a suitable location for the light switch, ensuring it's within easy reach and complies with building regulations regarding switch placement. b. Turn off the power supply to the circuit. c. Remove the faceplate of the existing switch or create a suitable opening for a new switch. d. Connect the live (L), switched live (SL), and earth (E) wires to the corresponding terminals on the light switch, following the manufacturer's instructions. e. Securely mount the light switch in the chosen location using the screws provided.
Step 5: Attach the Outlet. Follow these steps if you're installing a new outlet or connecting the light switch to an existing one:
- Cut the circuit's power supply off. b. To access the wiring, take off the outlet's faceplate. b. Determine which wires are attached to the outlet terminals as the live (L), neutral (N), and earth (E) wires. d. Find the switched live (SL) wire that connects the light switch to the lighting fixture if you're connecting to an existing outlet. b. Using secure connections, attach the live (L), neutral (N), and earth (b) wires from the outlet to the appropriate terminals. f. When installing a new outlet, mount it firmly in the intended spot and attach the wires according to the previous instructions.
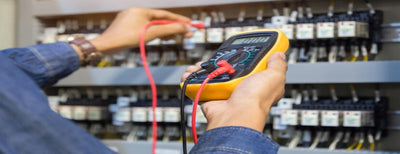
Step 6: Test the Connections. After completing the connections, it's essential to test the circuit to ensure everything is working correctly.
- Switch on the power supply at the consumer unit. b. Test the light switch to ensure it turns the lighting fixture on and off as expected. c. Plug in a test appliance (e.g., a lamp) to the outlet and verify that it receives power.
Step 7: Secure and Finish. Once you've confirmed that the connections are functioning correctly, secure all wiring and components in place. Replace the faceplates of the light switch and outlet, ensuring they sit flush against the wall.
Safety Factors and Optimal Techniques Prioritize safety during the installation process by adhering to these guidelines:
To reduce the chance of electric shock, always switch off the power source before working on electrical circuits.
When working with electrical components, use the proper PPE, such as safety goggles and insulated gloves.
Make certain that every connection is tight and free of exposed or loose conductors.
Pay attention to the maximum load ratings on switches and outlets to prevent overloading circuits.
Check electrical systems on a regular basis for wear, damage, or overheating, and take quick action to fix any problems you find.
Conclusion
In the UK, a basic component of electrical installations is the wiring of light switches to electrical outlets and Kent traders offer a comprehensive selection of electrical switches and sockets from leading brands in the UK. Focusing on quality and dependability, they serve a wide range of clientele in the commercial, industrial, and residential domains. You may make sure that the connecting procedure is secure and efficient by following the instructions provided in this guide and abiding by safety rules. Always put safety first, and seek the advice of a certified electrician if you have any questions about any element of the installation.
FAQ’s
Q1. Which wires connect to outlet?
The wires that connect to an outlet typically include the hot wire (usually black), the neutral wire (usually white), and the ground wire (usually green or bare copper).
Q2. What are the 3 wires in an outlet?
The three wires in an outlet are the hot wire, the neutral wire, and the ground wire.
Q3. What is the best wire for outlets and switches?
The best wire for outlets and switches is typically copper wire, specifically solid copper wire for outlets and stranded copper wire for switches. Copper is preferred due to its conductivity and reliability in electrical connections.Shop the range at Kent Traders
Fitting a light switch or socket? Pick from our full UK range. Browse our UK trade range:
Shop light switches